Create and send a contract
draft · 3 image slots
Create a client contract, add products or packages from your price book, review the customer view, and copy the signing link. When you finish, you will send that link to the client yourself — Feta does not send the contract for you.
Before you start
The client needs a state and a primary contact on its company record. The contract form can help you set either one, but having both ready makes the process faster.
Set up Settings → Products & Services first if you want to use catalog products, services, or packages. You can also add a custom product while editing the contract.
1. Create the draft
- Go to Contracts and select Add Contract.
- Under Attach to, leave Company selected.
- Choose the Client. If its state is missing, select one in State; Feta saves it to the company when the contract is created.
- If the company has no primary contact, use Assign a primary contact. The create button stays unavailable until one is assigned.
- Enter the Contract Title and choose the Contract Owner.
- Review Contract Type, Billing Frequency, Payment Terms, Start Date, End Date, Auto-Renew, and Non-Profit (Tax Exempt).
- Select Create Contract.
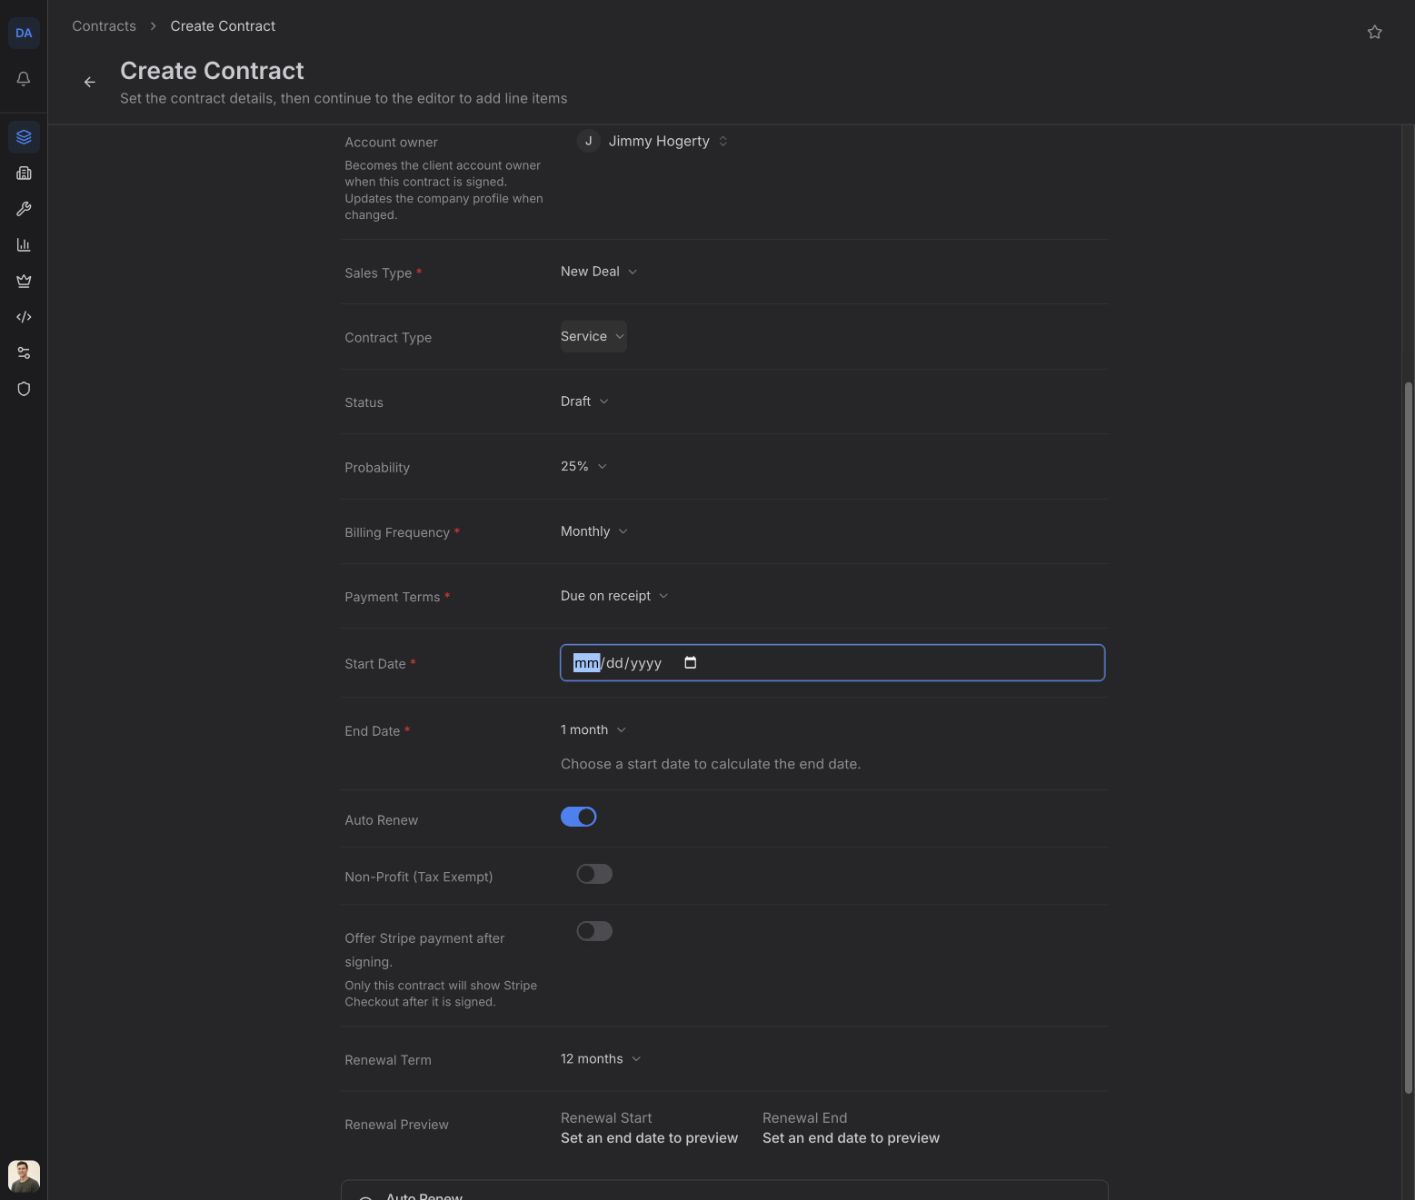
Feta opens the new contract in Edit View.
2. Add the work and price
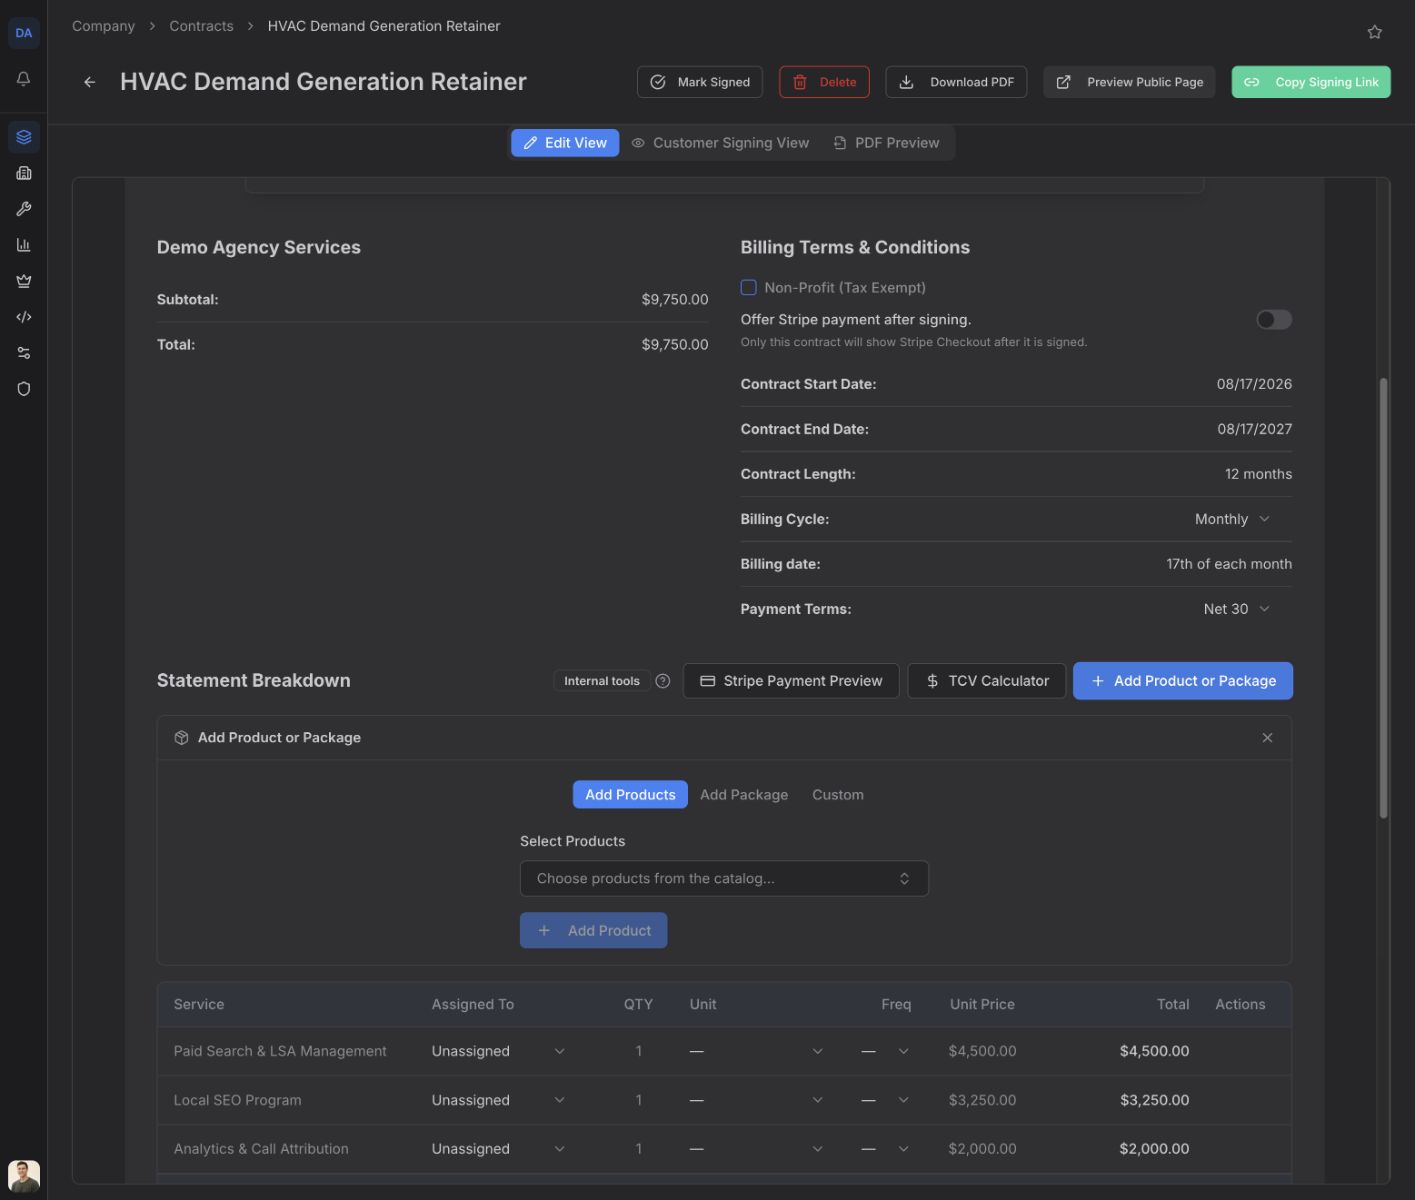
Select Add Product or Package, then choose one of these tabs:
- Add Products — select one or more products from your price book, then select Add Product.
- Add Package — choose a prepared package or project. Its included line items come with it.
- Custom — enter a Product Name and optional Description, then select Add Custom Product.
Use the line-item table to check the service, assignee, quantity, unit, frequency, unit price, and total. Text changes in the editor save automatically.
3. Review what the client will see
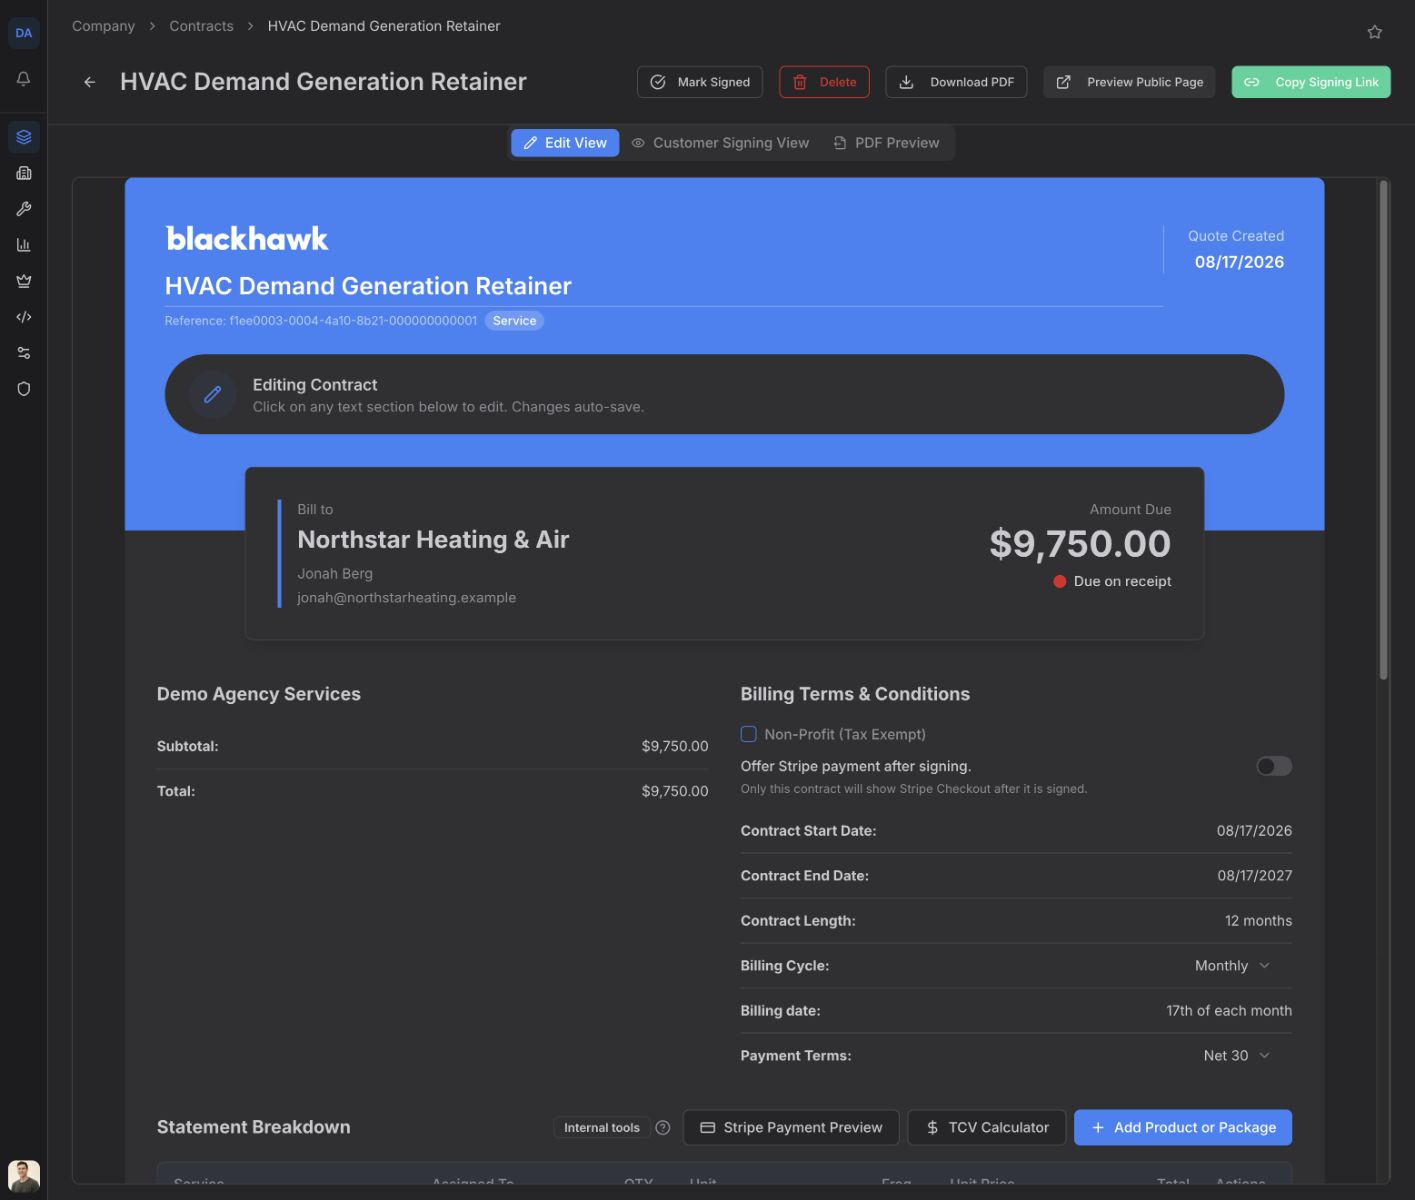
Open Customer Signing View to review the agreement as the client will see it. Open PDF Preview to check the document layout, or select Preview Public Page to open the signing page in a new tab.
Fix the contract in Edit View before sharing it. After the client signs, the contract is locked against further edits.
4. Copy and send the signing link
Select Copy Signing Link. Feta copies the public signing URL to your clipboard.
There is no in-app send. Paste the link into your own email or message and send it to the client yourself.
The client opens the link, accepts both agreement checkboxes, enters their Full legal name, and selects Sign the agreement. Do not promise a payment step after signing; that option is not available in every workspace.
If something blocks the link
- Copy Signing Link is unavailable — set the client's state on the contract and try again.
- Create Contract is unavailable — choose a client state and assign the company's primary contact.
- A catalog item is missing — return to Settings → Products & Services, make sure it is active, then come back and select Add Product or Package.
- The client sees Contract Not Found — confirm the full URL was copied and that the contract is still available in Contracts, then use Copy Signing Link again.